

 www.walmart.com
 Introduction: The Ultimate DIY Workbench with Tool Storage
Are you tired of a cluttered workspace and tools scattered everywhere? Building your own workbench with integrated tool storage is the perfect solution! This step-by-step guide will walk you through constructing a sturdy and functional workbench that will keep your tools organized and your projects running smoothly. Get ready to transform your workshop!
Step 1: Planning and Design
Before you start cutting wood, it's crucial to plan your workbench. Consider these factors: Dimensions: How much space do you have? What size workbench will fit comfortably? Think about the depth, width, and height. Consider how far you will be from it when working on other parts. Tool Storage: What types of tools do you need to store? Do you prefer drawers, shelves, cabinets, or a combination? How many of each? Materials: Plywood, solid wood (like 2x4s), or a combination? Consider the cost, durability, and appearance. Stability: How heavy-duty does it need to be? Will you be working with heavy materials? Create a detailed sketch with measurements. This will be your blueprint throughout the building process.
Step 2: Gathering Materials and Tools
Once you have a plan, it's time to gather your materials and tools. Here's a general list: Wood (based on your plan, plywood, 2x4s, etc.) Screws (various sizes) Wood glue Sandpaper (various grits) Wood finish (paint, stain, varnish) Tools: Saw (circular saw, miter saw, or hand saw) Drill/Driver Screwdriver Measuring tape Level Clamps Safety glasses Ear protection Square Optional: Router, table saw, nail gun Adjust the list based on your specific design and preferences.
Step 3: Building the Frame
The frame provides the foundation for your workbench. Cut the wood for the legs according to your plan. Assemble the legs using screws and wood glue. Make sure they are square and level. Cut the wood for the aprons (the horizontal supports that connect the legs). Attach the aprons to the legs using screws and wood glue. Ensure everything is square and level. Clamps will be your friend here! Add cross braces for additional stability, especially if you plan to work with heavy materials. This frame will serve as the base for your workbench top and storage components.
Step 4: Constructing the Workbench Top
The workbench top is your primary work surface. Cut the plywood or solid wood to the dimensions you planned for the top. If using plywood, you can create a thicker, more durable top by layering multiple sheets together and gluing them. Attach the top to the frame using screws and wood glue. Make sure it's securely fastened. Sand the top smooth to remove any splinters or rough edges. Consider adding a protective edge banding for a professional finish and to prevent chipping.
Step 5: Building Tool Storage (Drawers, Shelves, Cabinets)
This is where you customize your workbench. Drawers: Cut the wood for the drawer boxes. Assemble the drawer boxes using screws and wood glue. Install drawer slides to the frame. Install the drawer boxes into the slides. Add drawer fronts to complete the drawers. Shelves: Cut the shelves to the desired size. Attach shelf supports to the frame (using screws and glue or shelf pins). Place the shelves on the supports. Cabinets: Build the cabinet boxes (similar to drawer boxes). Attach the cabinet boxes to the frame. Install doors with hinges and latches. Make sure all storage components are securely attached to the frame.
Step 6: Finishing Touches
The final steps will improve the look and durability of your workbench. Sand the entire workbench to smooth out any rough edges or imperfections. Apply a wood finish (paint, stain, varnish) to protect the wood and enhance its appearance. Follow the manufacturer's instructions for application. Consider adding additional features, such as a vise, power strip, or tool holders. Let the finish dry completely before using the workbench.
Conclusion: Enjoy Your New Workbench!
Congratulations! You've successfully built your own workbench with tool storage. This project will not only provide you with a functional workspace but also help you stay organized and efficient. Now you can tackle your projects with ease and enjoy the satisfaction of building something yourself. Remember to always prioritize safety when using power tools and working in your workshop. Happy building!
Husky 4 Ft. Solid Wood Top Workbench With Storage-g4801s-us
 www.homedepot.com
 Costway Work Bench Tool Storage Steel Frame Tool Workshop Table W/ Drawer And Peg Boar
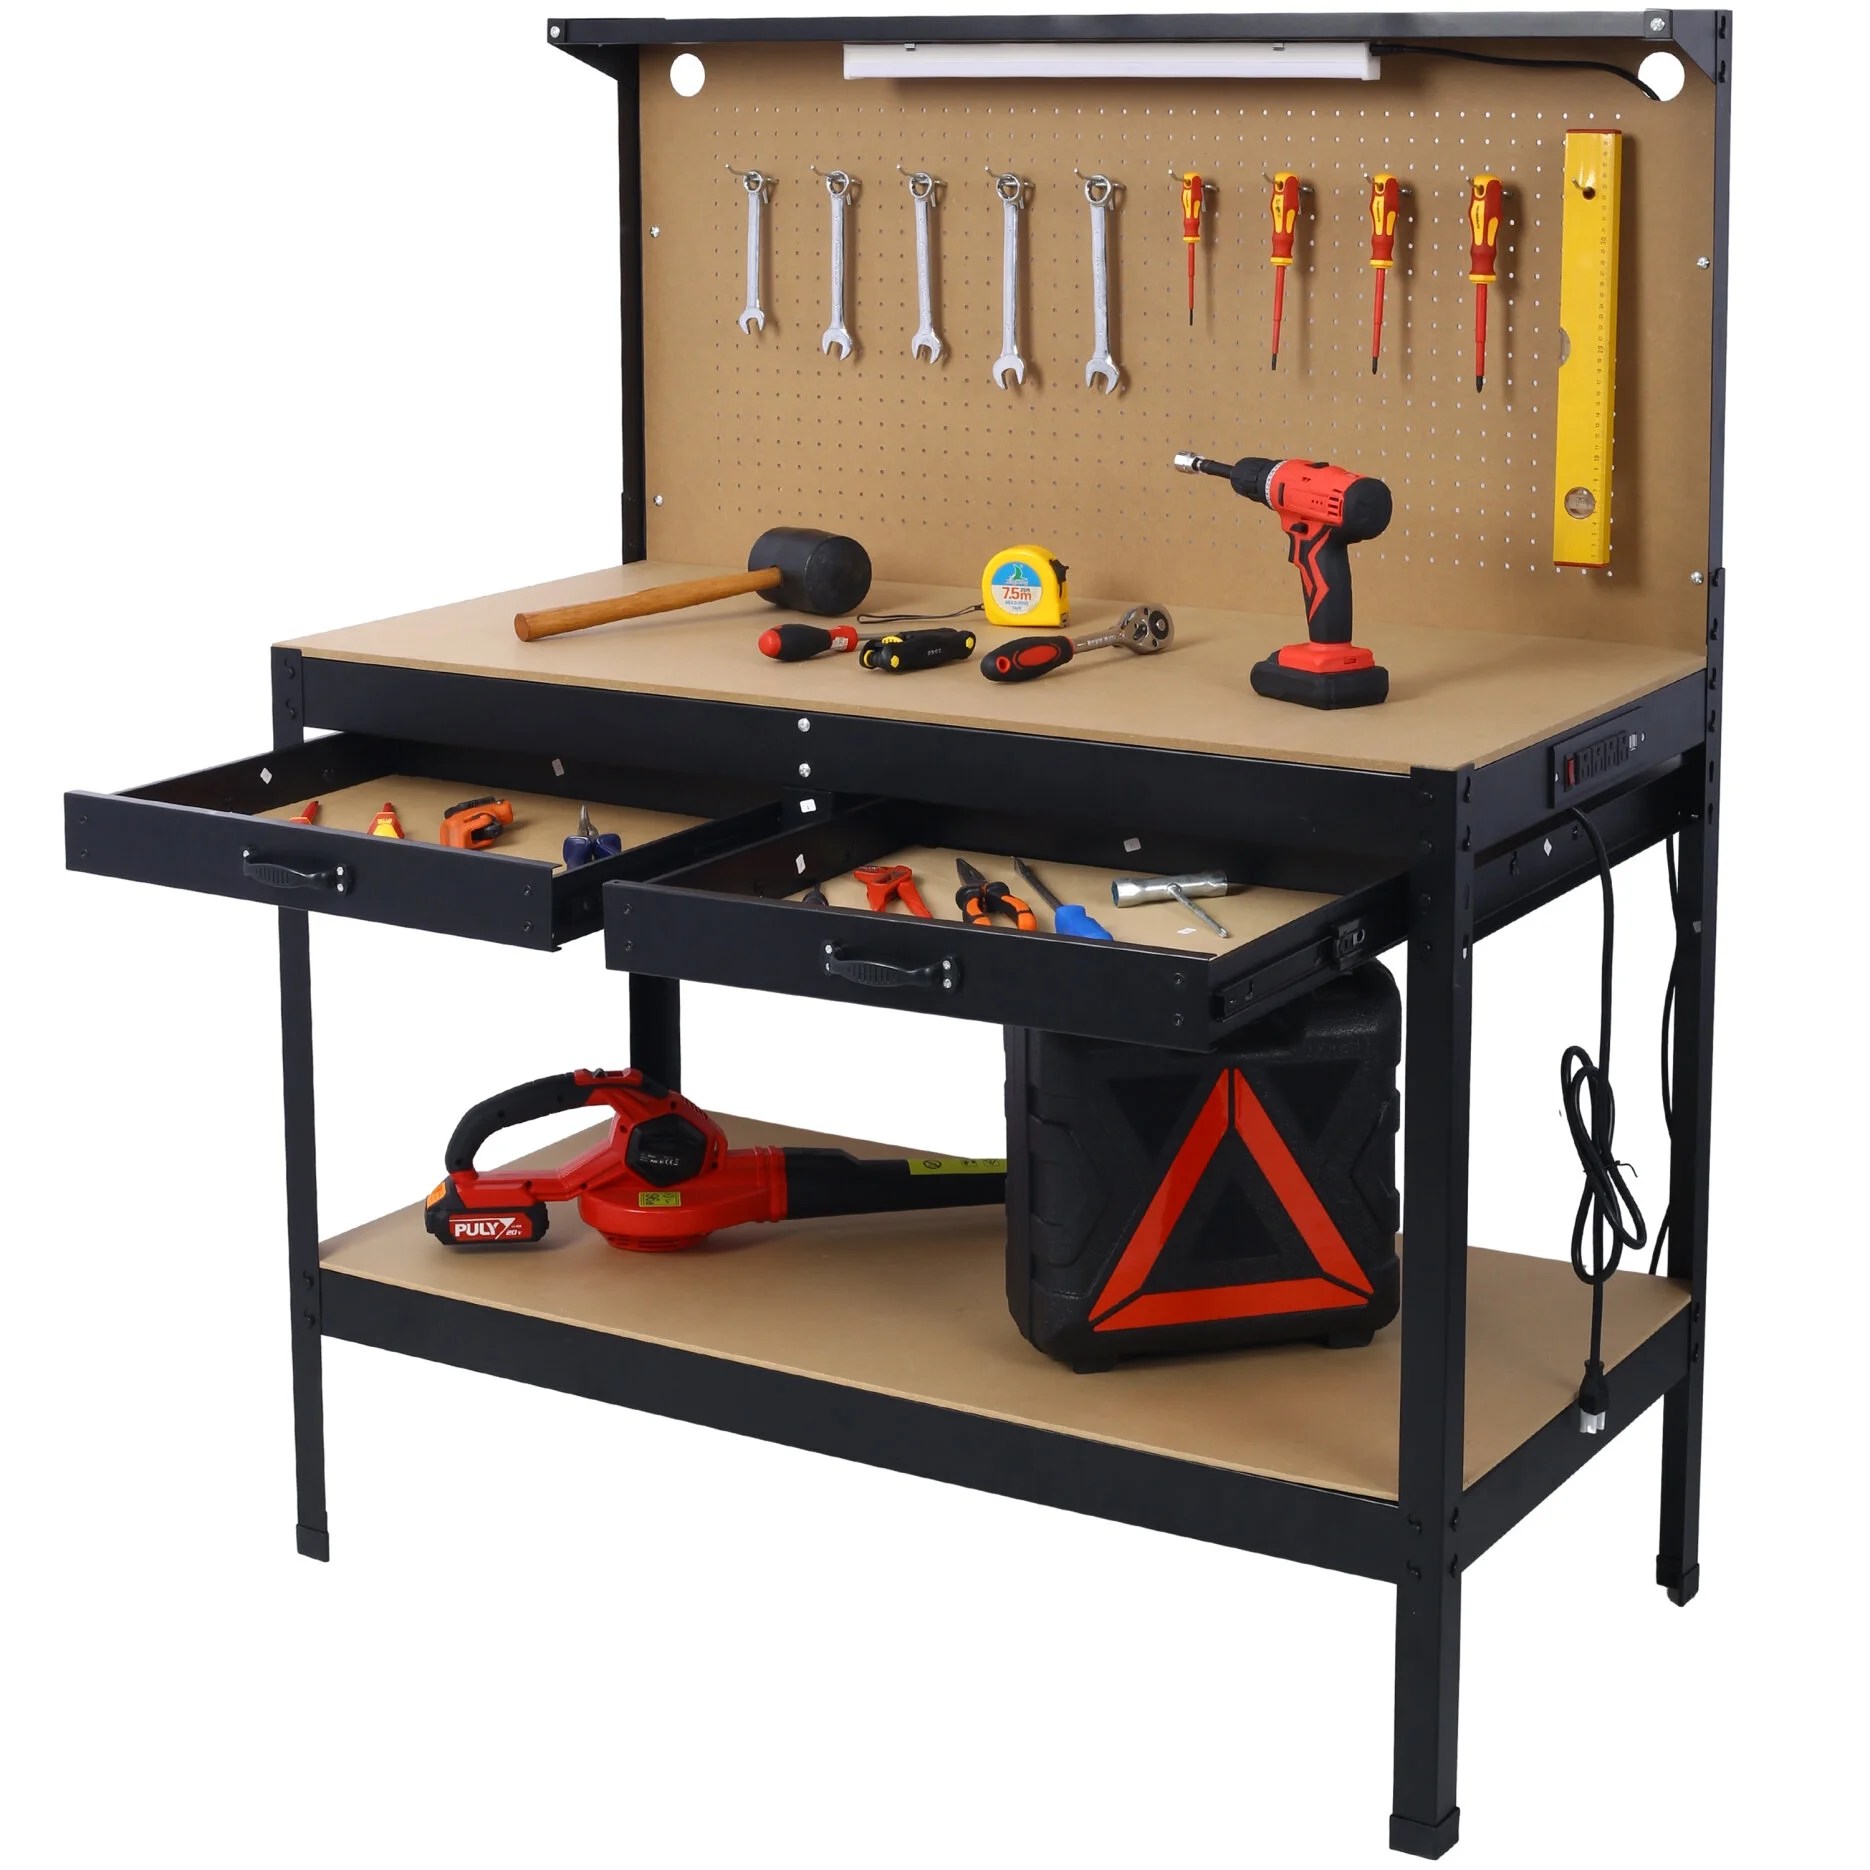
www.walmart.com Workbench, Tool Storage Work Bench Workshop Tools Table With Power Outlets, Steel Garage
 www.walmart.com


0 komentar:
Posting Komentar